Ceramic Class Part 2
The so-called finished product went through the first firing process (1180°C) by placing it in the kiln
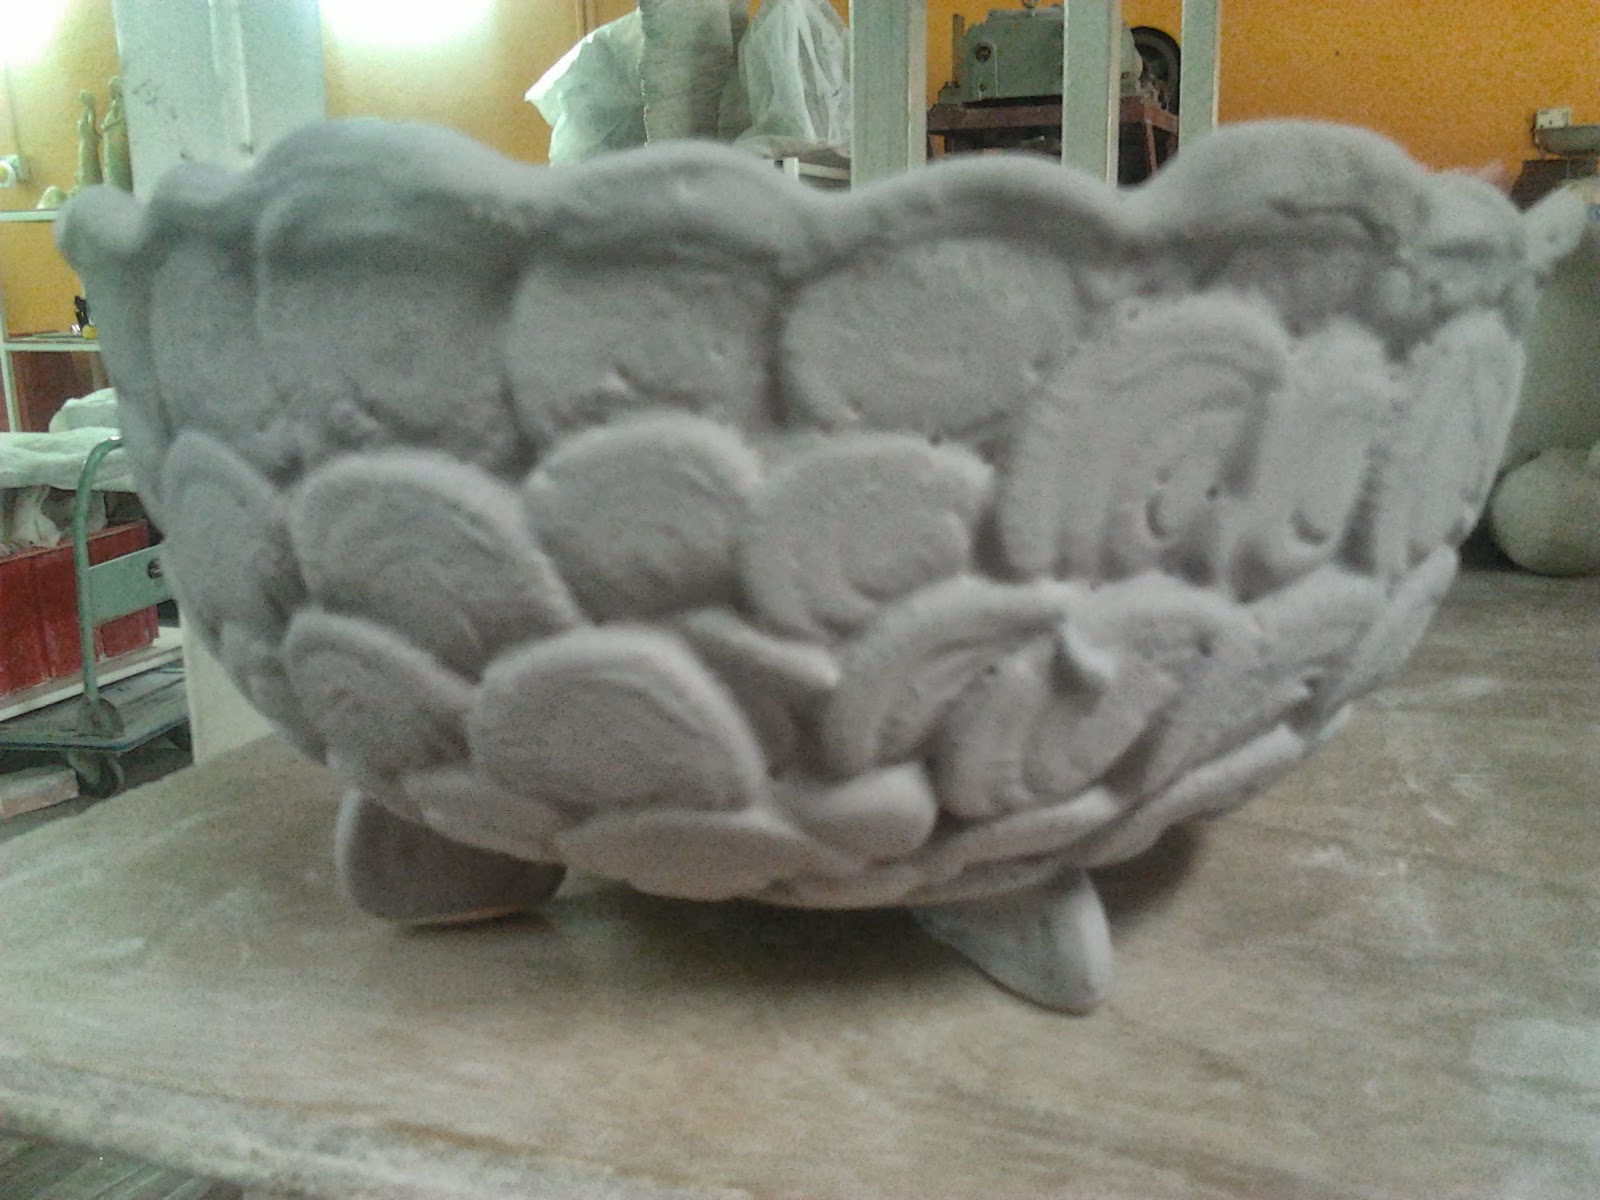
After the first firing process
The colour changed from greyish brown to greyish pink
Here comes the glazing process
First, Ms Cindy asked me to choose the colour I like
I like blue so she gave me a dark blue paint
Next, you will use a tool to stir it
This procedure continues until there is no lumps in the paint
Then, she asked me to put my hand inside to test the colour
The colour must not be too thin or too thick
You must be able to see the lines of your fingers to ensure that the colour is good
If the colour is too thick, you just have to add in some water
If the colour is too thin, you will need to let it sit for a while and remove the water on top of it (the minerals of the paint will sink to the bottom forming a layer of water on top of it)
After that, I used the tongs to clamp the ceramic and dip it into the paint
She asked me to count until five and lift it up
Be careful not to rub the ceramic because the colour will wear off
The ceramic will go through the second firing process in the kiln for several hours
There will be a shiny coat forming on the ceramic (it will form naturally due to the paint she made without having to purposely paint a layer of coat on top of it)
I can't wait to see the final product
Stay tuned!!!
After the first firing process
The colour changed from greyish brown to greyish pink
Here comes the glazing process
First, Ms Cindy asked me to choose the colour I like
I like blue so she gave me a dark blue paint
Next, you will use a tool to stir it
This procedure continues until there is no lumps in the paint
Then, she asked me to put my hand inside to test the colour
The colour must not be too thin or too thick
You must be able to see the lines of your fingers to ensure that the colour is good
If the colour is too thick, you just have to add in some water
If the colour is too thin, you will need to let it sit for a while and remove the water on top of it (the minerals of the paint will sink to the bottom forming a layer of water on top of it)
After that, I used the tongs to clamp the ceramic and dip it into the paint
She asked me to count until five and lift it up
Be careful not to rub the ceramic because the colour will wear off
 |
| The ceramic after glazing |
There will be a shiny coat forming on the ceramic (it will form naturally due to the paint she made without having to purposely paint a layer of coat on top of it)
I can't wait to see the final product
Stay tuned!!!


Comments
Post a Comment