Ceramic Class Part 1
A friend of mine found this place- Clay Expression on the internet


The so-called finished product still have to go through the firing and glazing process
We signed up for the 2 hours trial class (Rm100) without much hesitation
Clay Expression is a studio for ceramic making
It is situated at the industrial area at Subang which is super duper far away from our place
But we still managed to get there by taking lrt, ktm and cab
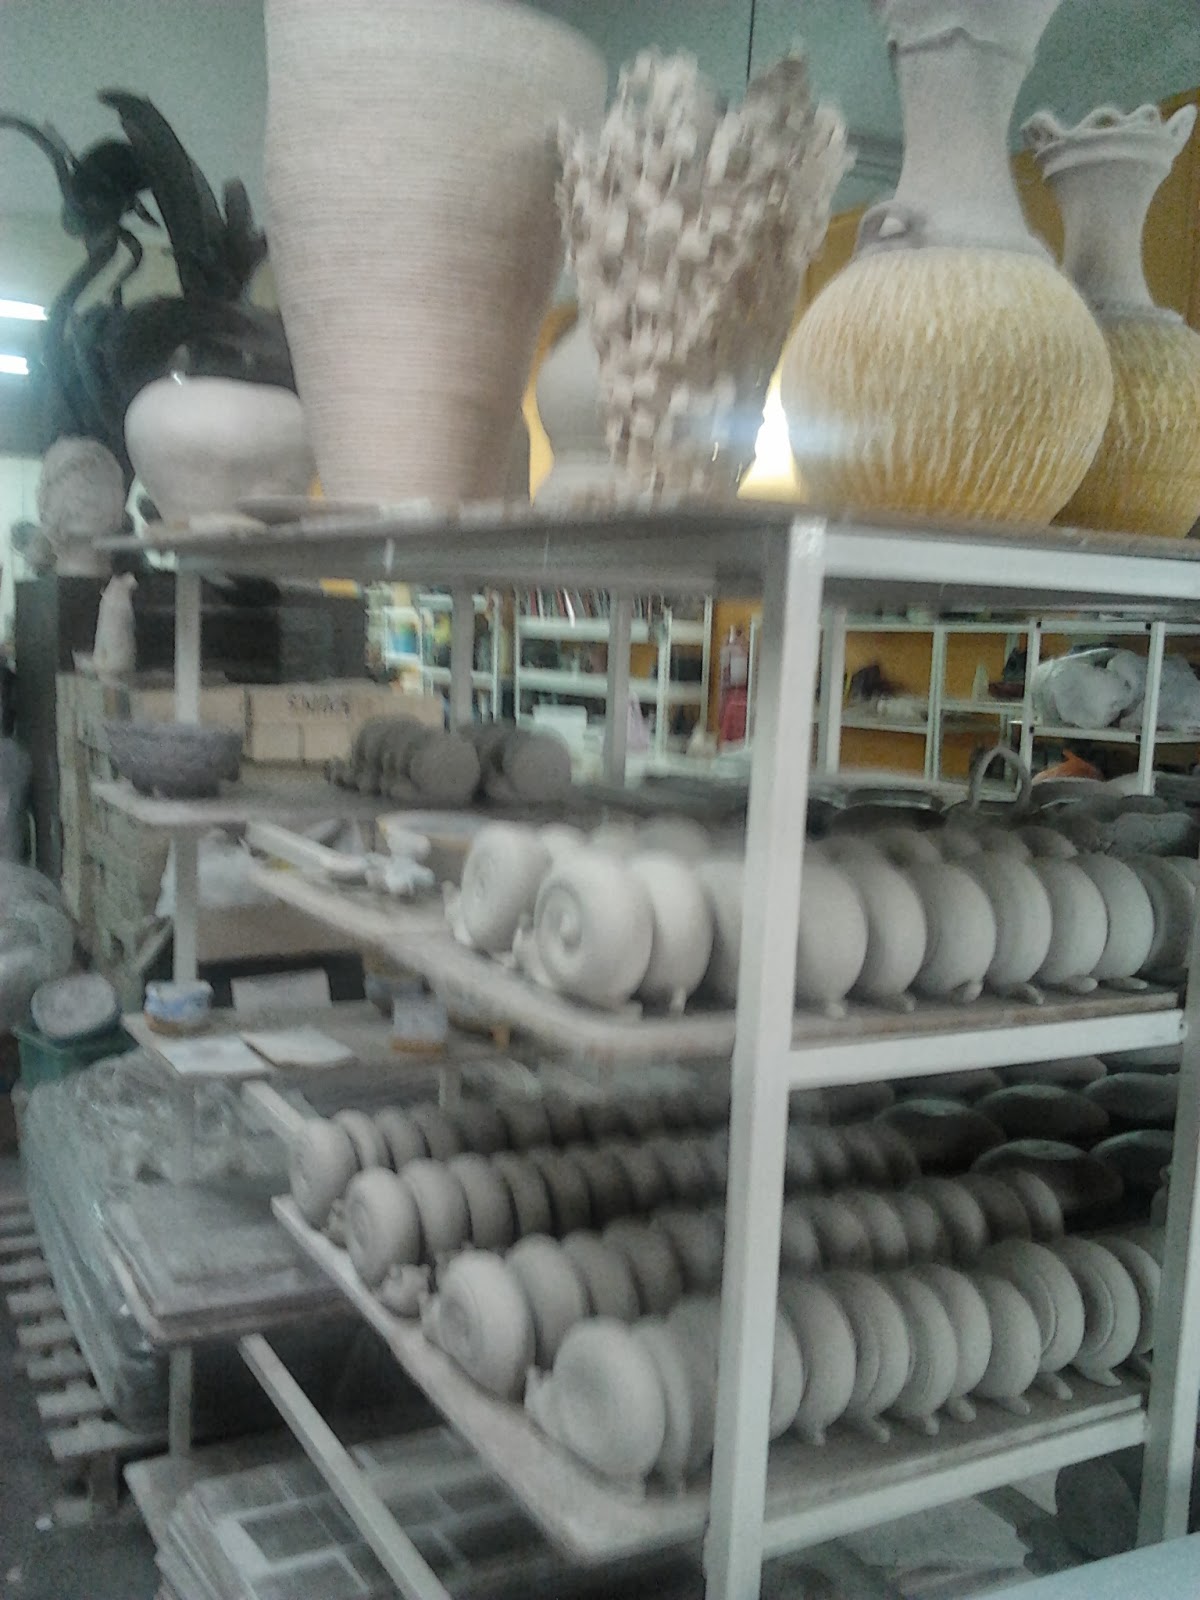
When we reached there, Ms Cindy took us for a tour
Telling us the process of making ceramic
Showing us the way to make ceramic by hand building or wheel throwing
And also the art pieces created by her students
Since we were first timer
We went for the hand building
There are four techniques in hand building namely Pinching, Coil, Slab and Press Mould
We only learned two techniques-coil and press mould
We only learned two techniques-coil and press mould
We first prepared the 1kg clay by removing the air bubbles inside
You gotta knead (wedge) the clay repeatedly until all the air bubbles is removed
This will require upper body strength and strong hands
If air bubbles still remain inside the clay, the piece of ceramic will crack during firing process
She then let us choose which ready-made mould we wanted
We chose the bowl-shaped mould so we can use it for our maggie when it is done
Then, we rolled the clay and coiled it quickly
The size depends on how you like it to be
This step was the hardest for me
This is because the clay dried very fast so you gotta coil it fast
You must make sure that there is as little crack as possible when you coil the clay
If not, there will be a permanent crack after firing
You gotta figure it out yourself on how to do it
The more you do it, the faster you can form a complete coil
After that, we joined two coils together by first putting one coil on top of the other
Then, we used our fingernails/ fingers to blend them (press and move the top layer of the clay) so that they would join and become one bigger piece
You must make sure that the two pieces are joined tightly and there is no space in between them
If not, water will drip from your piece of ceramic when it is done
Alternatively, you can roll the clay into a ball to fill up the spaces in between
We repeated the same process by forming the clay into a coil and then blending it with the other coils on the mould until the whole mould was filled by the clay
 |
| Our finished product |
The so-called finished product still have to go through the firing and glazing process
I will write about them in Part 2
Stay tuned ^^


Comments
Post a Comment